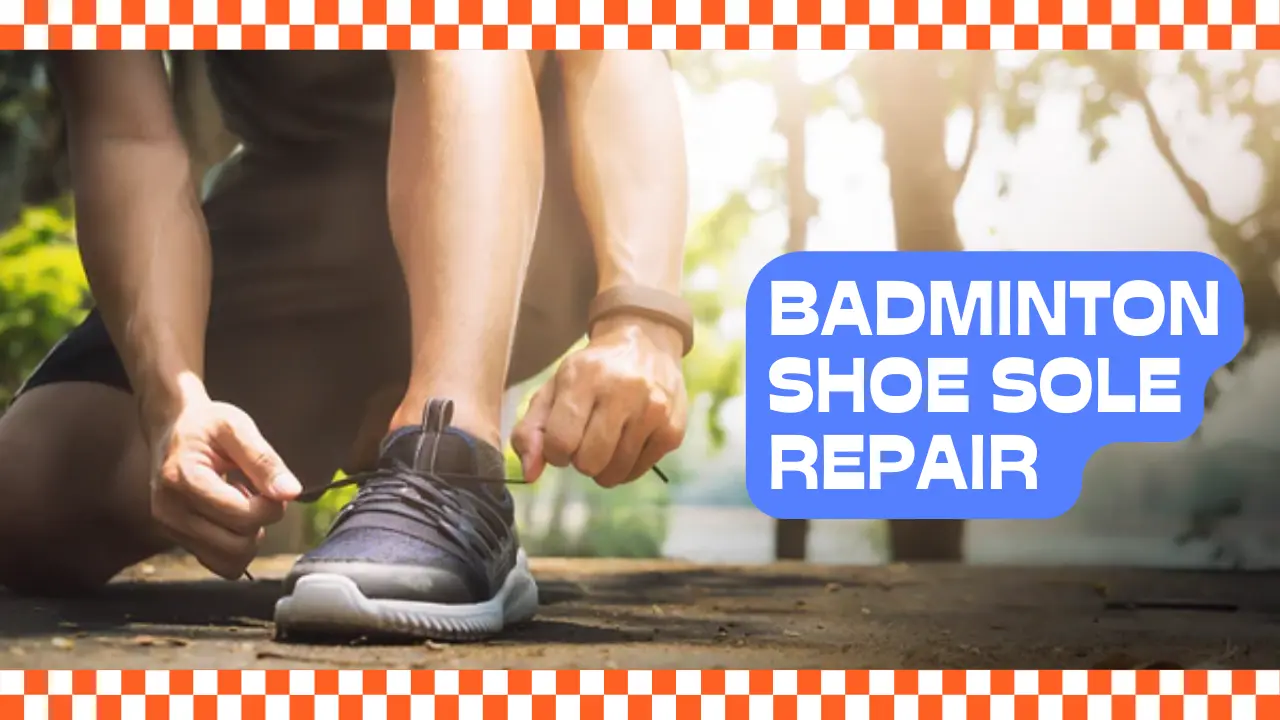
Every step, every jump, every move – the sole of a shoe takes it all, especially in badminton shoes. Over time, this can cause wear and tear, with the sole often being the first to give way. Is this the end of the perfect pair of badminton shoes? Not necessarily.
Repairing the sole of a badminton shoe is a simple process that will give your shoes new life. With some basic items and a little patience, you can repair your worn-out soles. So, if you’ve been wondering about the Best Ways of Badminton Shoe Sole Repair, keep reading. In this article, I’ll share some practical ways to repair your badminton shoe soles.
Also, read this: Top 6 Best Badminton Shoes | Best Guide You Ever Need, 2022
Best Way Of Badminton Shoe Sole Repair: Method 1
Removing Old Sole
The first technique is to replace the worn-out soles with new ones.
Pull up the soles with pliers. Even if the only one starts to escape, you might need pliers to pull it from the shoes thoroughly. Hold the shoes firmly and remove them from the edge of the soles with pliers.
Move one-only from the bottom of the shoe. If the soles are not quickly released, try triggering paint or folding knives between soles and shoes when you pull the soles with pliers.
You can also use hot pistols or hair dryers to warm the glue that attaches soles, making removing them more accessible.
Clean up any Old Glue using Acetone
Maybe some remaining dry glue is still at the bottom for your badminton shoe sole repair. Pour a little acetone or remover of nail polish on the cloth and rub the bottom of your badminton shoe sole repair. Glue must be dissolved and rubbed. Clean the dirt or dust from the badminton shoes too.
Repair Bottom Roughness with Sandpaper
The rough surface is held better with glue than the smooth one. Use 120 grit sandpaper for scratching the shoe’s bottom and the top of the soles until the texture looks rougher.
Apply one adhesive to a New Sole with a Brush or Cotton ball
Follow the instructions on the adhesive for the application. Some bonds must sit for a few minutes or “heal” before the item can be placed in its place. Some glue requires heat to activate.
Good shoes are common and effective shoes and are available in many shoe stores, sports supply outlets, and department stores.
Place the New soles in their place and press tightly on the Badminton Shoe Sole Repair
If adhesive needs to be cured before use, wait as long as the instruction shows before wearing a sole. Start from the front and place one -gradually on the shoes. Make sure the edges are lined up correctly. After being in place, put pressure to attach it firmly at the bottom of the shoe.
Pinch one-only to the Shoe using a Rubber band, Duct tape, or Weight
One-only needs to be pressed tightly to the badminton shoes so that two surfaces stick. Secure the soles in place by wrapping a rubber band or duct tape around the shoes or by putting it on the ground and adjusting the weight on it to press the badminton shoe sole repair to the sole. It can help to fill shoes with paper first to maintain their shape when clamped.
Wait 24 hours for Badminton Shoe Sole Repair
Most adhesive one-only shoes require at least one full day to determine. Let your shoes sit in a cold and dry place where they are not in danger of being moved or touched.
Best Way Of Badminton Shoe Sole Repair: Method 2
Repair Loose Soles
The second method is to repair the loose soles
Clean Shoes and Soles with Water and Alcohol
Use a cloth to rub warm water and isopropyl alcohol around the loose part. If you can do it without pulling it further, clean it inside where the soles also become loose.
Apply one-time Adhesive Shoes between Shoes and Soles
Use toothpicks or cotton to apply the adhesive layer to the soles that are separated from the shoes. Make the layer thick enough because it is better to put it in too much and make it overflow than not have enough.
You must cure some adhesives for a few minutes after application and before one -only enforced. Check the instructions on your adhesive product.
Press the Badminton Shoe Sole Repair
Be careful not to get touch any adhesive in your hands. Press soles and shoes tightly. Don’t worry if some of the bonds come out – this can be sanded later.
Save the Soles with Rubber bands, Duct tape, or Weight
Soles must be pressed tightly to the shoes all the time. Secure using a rubber band or duct tape, or set the weight on the shoe in the area where the glue dries.
Let the Shoes sit for 24 hours, Maybe more
Place the shoes outside the house, where they can stay cold and dry during the set. Wait at least 24 hours may be longer before wearing shoes.
Steaming Dry Glue
If one of the adhesives is the only shoe spilled when you press the soles down, the sand uses 120 grit sandpaper. Make sure the adhesive is completely dry before sanding it.
Best Way Of Badminton Shoe Sole Repair: Method 3
Fill the hole
The third method is to fill the hole.
Clean the Closed Area around the Hole with Alcohol and Water
To clean dirt, use a cloth to rub warm water and isopropyl alcohol around the hole. Let it dry for several minutes before continuing.
Roughen up the Edges of the Hole with 120-grit Sandpaper
It will help glue attach to the rubber. Rub the hole’s edge with sandpaper until it appears to take a rough texture.
Place the Duct tape on the inside of the Shoe above the Hole
Remove the shoe insole and place duct tape in the shoe where the hole is. Suppose the spot does not pass through the inside of the shoe sole. Put your finger into the hole, push up to see where the hole is, and cover the part with duct tape.
Fill the Hole with one Shoe Adhesive
Avoid touching the adhesive with your bare hands, gently squeezing it into the hole. Make sure the hole is filled, and don’t worry if there are a few overflows.
Use Ice cubes to smooth the Adhesive Surface
The ice cube will help you smooth the adhesive’s surface without sticking. You can also use tongue depression or a spoon covered with petroleum jelly.
Let the Badminton Shoes dry for 24 hours with Soles that repair
Arrange the badminton shoe sole repair so that the soles face up. Leave it somewhere outside the road where it will be cold and dry. Leave at least one full day.
Dry Adhesive Sand that Overflows from the Hole
Check if dry glue protrudes from the hole or spills on the edge. If there is, use 120 grit sandpaper for sanding it until the bottom of the soles is smooth.
Conclusion
In this post, I’ve covered all you need to know about the Best Ways to Repair Badminton Shoe Soles. I believe that with this expertise, you can easily do any sole repair. I hope that this tutorial not only helps you extend the life of your badminton shoes, but also inspires you to take an active role in maintaining your equipment. Remember that a little effort can go a long way toward protecting the things we cherish.
Furthermore, fixing your shoes not only saves you money, but also helps to create a more sustainable environment by cutting waste. So, roll up your sleeves and give your shoes a new lease on life. After all, each step you take in your newly mended shoes will show your resourcefulness and tenacity.
Also, read this: How To Waterproof Golf Shoes? | Best And Ultimate Guide, 2022
Frequently Asked Questions
What materials do I need for badminton shoe sole repair?
You’ll normally need a strong glue that suits footwear, sandpaper for surface preparation, and a clamp or weight to hold the sole in place while it cures.
How long does it take to repair a badminton shoe sole?
The actual repair can be completed in a few minutes. However, you will need to give the glue enough time (typically 24 hours) to thoroughly cure and attach.
Can all types of badminton shoe soles be repaired?
While many bottoms can be fixed, the success of the restoration relies on the severity of the damage and the material of the sole. Certain soles could be irreparable and need to be replaced.